Quick answer: A secure show jumping position combines proper seat, leg alignment, hand position, and balance. The key is maintaining a two-point or jumping seat over fences while keeping your center of gravity with your horse. Work with a coach, use training aids, and build strength through consistent practice — good position prevents jumping errors and builds confidence.
The rider's take: I coached a young rider last winter who was tipping forward before every fence — she'd been doing it for two years and nobody had caught it. Three sessions of trotting-pole work without stirrups, then back to jumping, and the habit was gone. Position faults are sneaky. You don't feel them happening, and they compound over time until you're knocking poles you should be clearing. The fix is almost always simpler than you think — it's just that nobody's watching closely enough to tell you what's wrong.

A secure jumping position keeps the rider's center of gravity with the horse throughout the jump.
Your show jumping position isn't just about looking polished in the ring. It's the foundation for clear rounds and safety. A correct position allows your horse to use his back, engage his hindquarters, and jump his best. When your seat, legs, and hands are aligned, your horse trusts you and can focus on the job. When your position falls apart, your horse compensates — and that leads to knocked poles, refusals, and unsafe rides.
Position also affects your own balance and security. A rider with a deep, centered seat can stay with the horse through the motion without grabbing the reins for balance. A rider tipping forward or gripping too tight will unbalance the horse and interfere with the jump.
If you're competing at EA shows or schooling at home, improving your position is one of the fastest ways to improve your jumping scores and build a better partnership with your horse.
1. Master the Two-Point Seat
The two-point (or jumping position) is the foundation for all jumping. You're out of the saddle, supporting yourself with your legs and core while your seat hovers just above or lightly touches the saddle. This position allows your horse's back to swing freely and lets you stay with the horse's motion over the fence.
How to practice two-point:
- Start at walk: Rise out of the saddle, hold your upper body still, and maintain a straight line from your hip, shoulder, and ear.
- Progress to trot: Work two-point at sitting trot for 30-second intervals, rest, repeat. Build up to 2-3 minute holds.
- Canter work: Two-point at canter is essential. Your weight stays in your heels and stirrups; your seat is 2-3 inches above the saddle.
- Use video: Filming yourself is the fastest way to spot bad habits like tipping forward, rounding your back, or collapsing at the hip.
Focus on feeling the motion rather than gripping. Your legs should be underneath you, not ahead or behind. A common mistake is leaning too far forward before the horse takes off — this unbalances both of you. Wait for the jump, then fold with it.
2. Secure Your Lower Leg Position
Your lower leg is your anchor. A stable, underneath leg gives you the security to stay centered and gives your horse a reliable base to jump from. When the lower leg swings forward or backward, it shifts your weight and makes the horse anticipate or hesitate.
Lower leg checklist:
- Heel down: Your heel is the lowest point. This engages your core and keeps your leg stable.
- Vertical line: Your heel, hip, and shoulder should form a vertical line when viewed from the side. Not ahead (jumping ahead) or behind (left behind).
- Stirrup length: At a show jump height, your stirrups should be about 2-3 holes shorter than your flat-work setting. Long stirrups force your leg to swing forward.
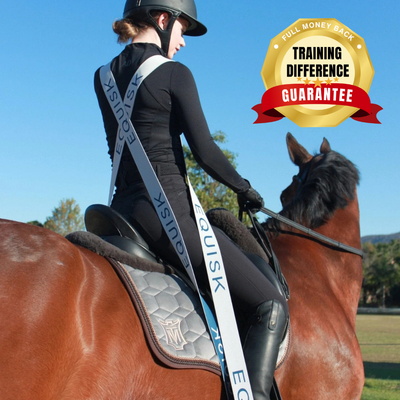
Use riding training aids like resistance bands or position-check tools to reinforce muscle memory. Equisk makes solid training gear designed specifically for show jumpers.
Poor lower leg position is the single biggest reason riders tip forward or get left behind. Spend time on leg exercises: standing in two-point, trotting poles, gymnastic grids, and dressage-style flatwork to strengthen your leg and develop stability.
3. Maintain Soft, Following Hands
Your hands control the horse's freedom over the jump. Stiff or grabbing hands interfere with the horse's neck and balance, causing knockdowns and refusals. Good hands follow the horse's motion smoothly.
Hand position guidelines:
- Straight line: From your elbow to the bit, your hand should form a straight line. Not broken at the wrist or rigid in the shoulder.
- Follow the neck: As the horse jumps, his neck stretches forward. Your hands must give with this motion — this is called "releasing" or "giving the jump."
- No grabbing: If you snatch the reins on approach or at takeoff, you're restricting the horse and asking him to hold back. Stay steady.
- Maintain connection: Even though you're giving, there's still light contact through the reins. You're not flopping around — you're following.
One tip I always give: practice on a neck strap. When schooling, holding a neck strap teaches you to release without losing balance. It frees your horse to jump his best. Many riders resist using one because it "looks amateur" — honestly, the only thing that looks amateur is catching your horse in the mouth over every fence.
4. Keep Your Upper Body Folded Forward

The upper body folds from the hip — not the waist — matching the horse's arc over the fence.
Your upper body folds forward from the hip when the horse jumps. Your seat stays out of the saddle, your upper body tips forward, but your lower leg remains underneath you.
Correct folding:
- Fold from the hip: Bend at the hip joint, not the waist or knees. Your line from ear to heel should remain relatively straight.
- Match the horse's arc: The bigger the jump, the more you fold. Over a 1m fence, you fold more than over a 60cm vertical.
- Don't jump ahead: A common mistake is folding forward before the horse jumps. This puts your weight in front of the horse's motion. Wait for the horse's jump, then fold with him.
- Come back to center: Between jumps, your seat returns to the saddle in two-point for the approach.
5. Develop Core Strength for Balance
A strong core keeps you centered, prevents tipping, and reduces fatigue during long courses. Core strength lets you stay independent of the reins — you're not grabbing for balance.
Off-horse core exercises:
- Planks: Hold for 30-60 seconds, 3-5 times. Strengthens your abs and stabilizers.
- Pilates: Especially good for riders. Focus on standing, seated, and bridging exercises.
- Leg raises: Lie on your back, keep your lower back flat, raise both legs to hip height, hold 10-15 seconds.
- Russian twists: Sit with bent knees, lean back slightly, twist side to side. Great for obliques.
Even 10 minutes of core work 3 times a week will make a noticeable difference. Stronger core = better balance = less reliance on the reins = happier horse.
6. Use the Right Saddle and Gear
Your saddle has a huge impact on position. A jumping saddle should have a forward-cut flap that allows you to maintain a two-point position without your leg swinging forward. An ill-fitting saddle will make it impossible to sit correctly, no matter how much you practice.
Have a saddle fitter check your fit once a year. If you've been working on position for months without improvement, the saddle is the first thing I'd check — not your riding.
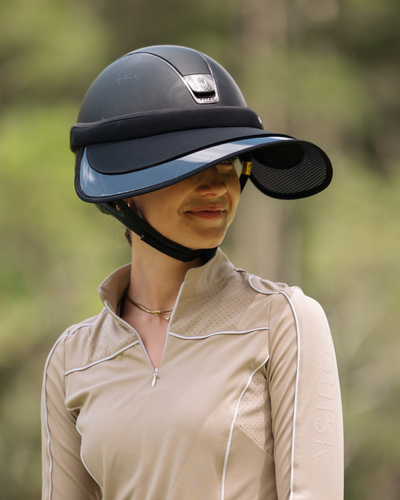
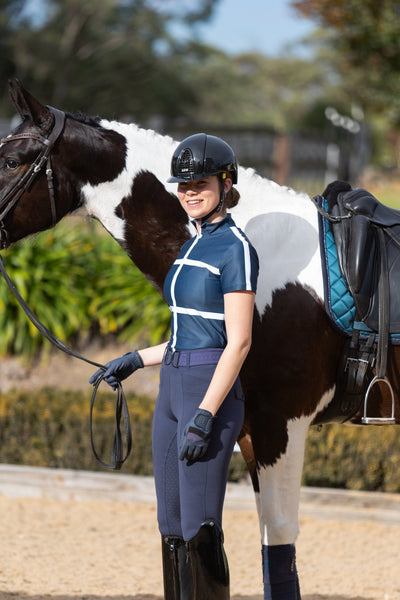
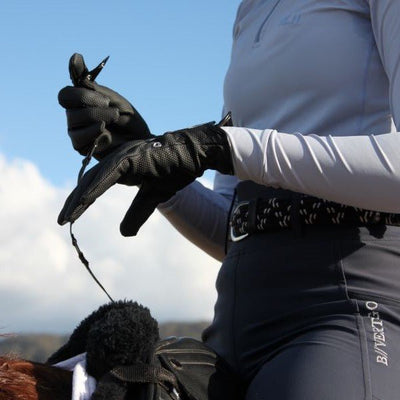
And don't forget the rest of your kit. Proper competition breeches with knee-patch grip give you the freedom to move over fences (see our full-seat vs knee-patch guide for why). A well-fitted show jacket that doesn't ride up when you fold forward. And a certified helmet — non-negotiable, every ride.
7. Get Regular Coaching
You can watch videos and read guides, but nothing beats a coach watching you and giving real-time feedback. A good coach will spot bad habits you can't see — a collapsed hip, early jumping, a drifting lower leg.
Even monthly lessons combined with your own schooling will transform your position. One lesson per month is far better than none — your coach gives you a focus for the next 4 weeks of practice.
Look for a jumping specialist who uses video. Modern coaches film your rides so you can see yourself and understand the feedback. And find someone who builds from basics — flat work, gridwork, and small jumps before moving to bigger courses.
Frequently Asked Questions
How long does it take to improve your show jumping position?
Noticeable improvement takes 4-8 weeks of consistent practice with correct feedback (from a coach or video). Major changes take 2-3 months. Bad habits ingrain over years, so be patient. Most riders see real improvement when they combine weekly riding with core strength work and a coaching plan.
What's the difference between two-point and jumping position?
Two-point is the base position — you're out of the saddle in a steady, centered posture. Jumping position is the moment your upper body folds forward as the horse jumps. Two-point is preparation; jumping position is the execution. In a course, you spend most time in two-point and only fold into jumping position over the jump itself.
Should my heels be down all the time?
Yes. Heels down is the single most important position element. It engages your core, keeps your leg stable, and prevents tipping. If you struggle to keep heels down, your stirrups might be too long or your core might need strengthening. No exceptions — flat or down, every ride.
Why do I keep jumping ahead of my horse?
Jumping ahead (tipping forward before the horse takes off) usually means: (1) you're anticipating the jump instead of waiting, (2) your lower leg is swinging forward, (3) you're gripping with your thighs, or (4) you lack confidence. The fix: slow down, use trotting poles to feel the motion, practice small jumps, and work with a coach on timing. Don't grab the mane — it enables the bad habit.
What's the best training aid for jumping position?
The best training aids reinforce the specific position fault you're working on. Resistance bands teach leg stability, position-check tools give real-time feedback, and a neck strap teaches you to release without relying on the reins. Equisk makes training equipment designed specifically for show jumpers. Even a phone camera for video is an excellent training tool.
Can you jump well with a bad position?
Not for long. Some riders jump clear rounds with poor position due to luck or a forgiving horse, but it catches up. Bad position restricts the horse, causes knockdowns, limits your scope, and creates safety risks as fences get bigger. It also causes soreness in your back, knees, and hips from constant imbalance. Invest in position now — it's the foundation for your whole jumping career.
How do I know if my saddle is affecting my position?
If you've been working on position for months without improvement, check your saddle. Signs include: your leg swinging forward despite correct stirrup length, difficulty holding two-point, or feeling like you're fighting the saddle rather than sitting in it. Have a qualified saddle fitter assess fit annually — uneven panels or a flap angle that doesn't match your leg can make correct position impossible regardless of how hard you work.
Build Your Show Jumping Kit at iRide EQ
Safety stirrups, certified helmets, competition breeches, and training aids — everything you need to improve your position and ride better rounds. Free shipping over $249 Australia-wide.
Browse Competition Gear →